Friday, 4 May 2012
Wednesday, 25 April 2012
Stop Motion Assessment
What I will consider for my next project is the quality of the pictures. On this one, at the end the photos look kind of blurry. Yet on the camera I didn't see that. Hope the quality will be better for the big project. The rest is pretty straightforward to me as I already followed a video course back in secondary and I'm pretty satisfied with my production. I think, however, that I will put much more effort in the editing part for the big project so it's even better.
Wednesday, 18 April 2012

Wednesday, 11 April 2012
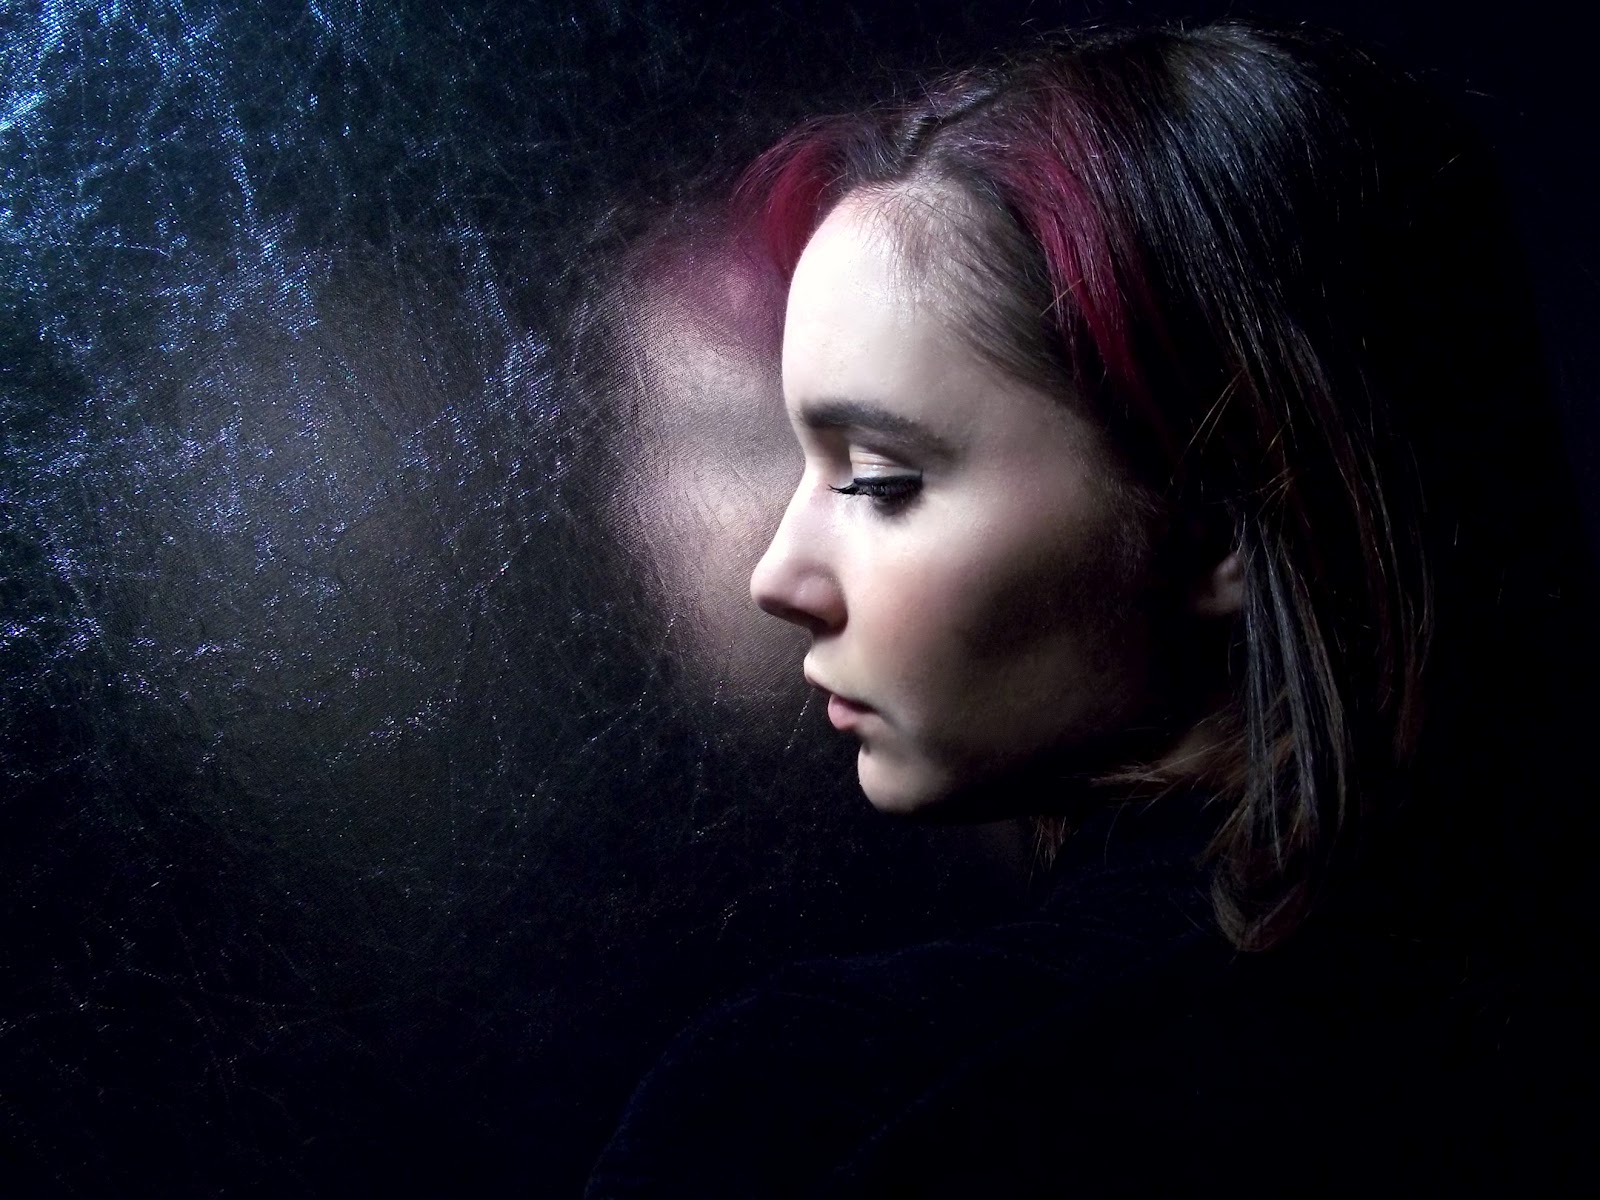
Creative and Environmental Portraits
Creative Portrait:
Alone with her Reflection
Environmental Portrait:
Nothing Better than a 60s War Movie with my tail-wagger @ 2am

Wednesday, 4 April 2012


Wednesday, 28 March 2012
Editing in
Photoshop Elements
Re-touched:

No Effects used, only tools.
Makeover #1:

Effects used: Find Edges
Makeover #2:

Effects used: Quadrant Colors, Lizard Skin
Makeover #3:

Effects used: Old Photo
Makeover #4:

Effects used: Patch Work
Makeover #5:

Effects used: Add Noise, Color Halftone,
Mosaic, Tint Green, Facet,
Wednesday, 21 March 2012
How the Camera Sees (In class assessment)
Part 1: Focal Lenght
Shortest (Wide angle)

Longest (Telephoto):

Observations: The model looks wider when shot with the longest
focal length. I suppose that’s because with the wide angle, we have more depth
of field so objects are compressed and look smaller.
Part 2: White Balance
Tungsten:

Shade:

Observations: Tungsten is kind of bluish and Shade is kind of
yellowy but I find that it looks nice. This is probably because when we say to
the camera that there will be shade (therefore no light) she automatically
prepares so maybe the ISO goes higher or the lens becomes bigger in order to
let more light in. I suppose for the bluish photo it is the opposite; less
light gets in the lens because it converged.
Part 3: Camera’s Light Meter
Far from window:

Close-up:

Observation: On the close-up we see more details of the face and
on the other photo we don’t see the face. This is because, I think, that if one
is closer to the object exposure is higher so the picture is lighter and we see
more.


Tuesday, 28 February 2012
Assesment 5: Movement
Part A


To view the complete no blur album click here and for the blur one, here. :-)
Part B
ISO: 1600
Comments: Clear splash even if the penny is invisible...

ISO: 1600
Comments: Blurry splash (because lower shutter speed) but a great one.
No Blur:

Blur:

To view the complete no blur album click here and for the blur one, here. :-)
Part B
Clear Splash:
F stop: 5.6
Shutter Speed: 1/100ISO: 1600
Comments: Clear splash even if the penny is invisible...
Blurry Splash:
F Stop: 6.3
Shutter Speed: 1/60ISO: 1600
Comments: Blurry splash (because lower shutter speed) but a great one.
Additional observation: The higher the ISO, the more noise.
Wednesday, 8 February 2012
Assignment 2: Self Portrait & Camera Procedures
For this assignment, I first had to shoot photos of myself. So, little by little I built a library from which I chose the ten photos I like best. I had some that I had done with my iPod camera and some with my digital camera. In class, I plugged each one in the computer. The computer asked me with which program would I like to open the pictures and I simply selected the yellow folder in which they are contained. Once the folder opened, I dragged them on the desktop and I unplugged the cameras. Then I opened Picasa, clicked on Tools, then Folder Management and selected the Desktop to be always scanned. I clicked OK and they appeared in the program.

I know that I will not be able to make a selection each time because there will be tons of pictures, so next time, I can just plug in my camera, check in the folder management that I would like for the camera folder to also be scanned, and get all the pictures in the Picasa library. From there I can create a folder with the selected pictures to post and sync with the Internet.
Once I got my pictures onto the Picasa site, I was ready to here, on blogspot. The way I uploaded my favourite self-portrait here is by clicking on the little button up in the menu called "Insert Image", then chose file, I selected the photo and then Open. And voila!

As for my album, it is available on Picasa, so that people can see the rest of my portraits. The way I posted the link to the online album is by writing "here", highlight it, click on link, copy the address of my album, paste it in the box of Blogspot and click OK.
Pretty simple once you get it.
To view my album click here.
Wednesday, 1 February 2012
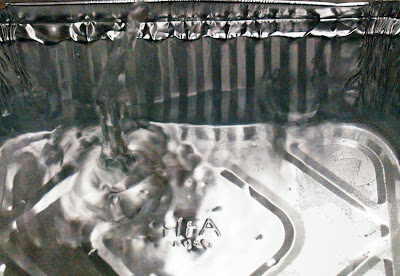
Assignment 1: Light Sensitive Material
When I first saw photograms on Google Images I thought ‘This
shouldn’t be hard, we just put some light above objects’’. The reality was far
from that. There are so many details you have to think of; the amount of light,
the amount of time, what objects to put on the light-sensitive paper, how to
place them, use the sheet from the right side…the list is endless. Here are the
results.
Second out of four tries:

My objects were a necklace and a transparent heart from a
pendant. Once everything placed, I lighted the objects for approximately five
seconds, not very far from the desk (maybe a few cm). I think the necklace came out pretty well, except for a few unfocused
beads on the right. As for the heart, it seems that the light was too much as
we can barely see its shape. However, I find interesting that there are three
darker spots on the heart and to me, it kind of looks like a smiley face.
Third out of four tries:

For this photogram, I used a small bottle
of perfume, a lot of mechanical pencil leads and the lids of the little boxes in which
you put the leads.
I
put all the pencil leads all around the bottle of perfume. Surprisingly, it seems like I put them on the bottle of perfume which I found
weird yet interesting. I think this has to do with the location of my light
source. Additionally, this time I held the light for three seconds and we can
notice there is much more contrast. So I guess for me, it was not How much
light but How Long to expose to light.
I wish I could re-do some photograms because this was really fun!
Subscribe to:
Comments (Atom)